Pre-Installation Checklist: Preparing Your Winnipeg Home for New Windows
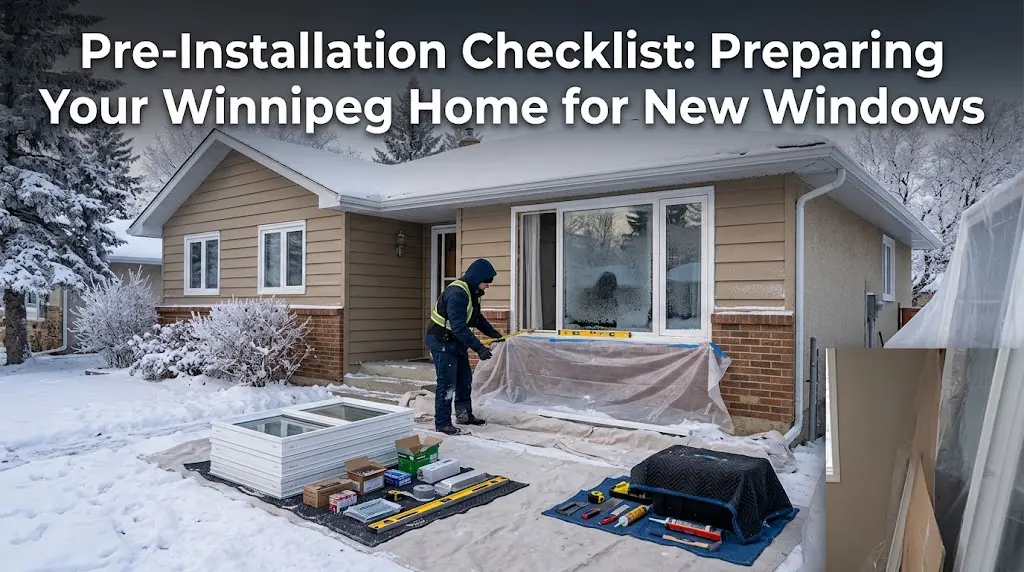
The short answer: a proper window installation checklist starts before your installer even arrives. Confirm whether you need a permit, clear a 3-foot working path inside and outside each window, remove curtains and blinds, move furniture and breakables away from the work zone, and plan for one room to be dusty for a few hours.
Doing this the day before saves your crew time and protects your floors, walls, and belongings. The rest of this guide walks through exactly how to prepare your home for window replacement, based on how installations actually run in Winnipeg’s climate and older housing stock.
Why a Window Installation Checklist Matters in Winnipeg’s Climate
Winnipeg’s temperature swings put extra pressure on a window replacement. A crew working in -15°C conditions moves faster and seals better when they aren’t waiting on you to clear a windowsill or find a missing storm window latch. Cold air also means every minute a window opening sits exposed matters more here than in milder climates — so a well-prepped home isn’t just about tidiness, it directly affects how smoothly the crew can work and how quickly your home is sealed back up.
If you want the full walkthrough of what happens on-site once your home is ready, review our windows installation process. For a broader room-by-room breakdown that pairs well with this checklist, our post on how to properly pack and stage your space covers physical preparation in more depth.
Check Your Window Replacement Permit Requirements First
Before you schedule anything, confirm whether your project needs a building permit from the City of Winnipeg. Most like-for-like window replacements don’t require one, but structural changes — enlarging an opening, adding a window where none existed, or altering a load-bearing wall — usually do. Sort this out weeks in advance, not the night before install day, since permit review can take time.
2–4 Weeks Before: Planning Your Home Window Replacement
This is the planning window, and it’s where most of the heavy lifting happens:
- Confirm final measurements: Your installer should have already measured, but double-check the order matches what was discussed — style, glass package, and grille pattern.
- Order matching materials: Procure any trim or siding repair supplies if your existing exterior cladding will need patching around the new frames.
- Plan window treatments: If you’re switching away from a traditional double-hung frame to a new casement style, existing blinds and curtain rods may not fit the new dimensions. Measure for new treatments now.
- Review material choices: If you’re still weighing frame options for unfinalized rooms, reviewing the material trade-offs and glass options early prevents day-of-installation delays.
The Week Before: Preparing Your Rooms and Exterior Access
Seven days out, shift from planning to physical prep:
- Clear a 3-foot radius around every window being replaced, inside and out. Move furniture, lamps, and wall art away from the opening.
- Take down curtains, blinds, and hardware. Installers can do this, but removing it yourself saves labor time and protects your treatments from dust.
- Remove window sill decor — plants, ornaments, anything breakable.
- Cover floors and nearby furniture with drop cloths if you’re doing your own prep; SmartTech crews also lay protective sheeting, but a head start helps in rooms with hardwood or carpet.
- Check exterior access — trim back bushes, move patio furniture, and clear vehicles from the driveway so the crew and their equipment can reach every window without obstruction.
- Secure pets in a closed-off room or arrange for them to be elsewhere during the workday; open door swings and unfamiliar noise stress animals.
Upgrading Entry Doors Alongside Windows
If your project includes entry doors alongside windows, prep for those runs on the same timeline — clear the entryway, remove doormats and storm doors, and make sure there’s a path for the old door to come out. Choosing material matters here too: understanding the differences between fiberglass and steel entry doors helps ensure your entryway upgrade matches the insulation standards of your new windows.
The Morning-Of Window Installation Checklist
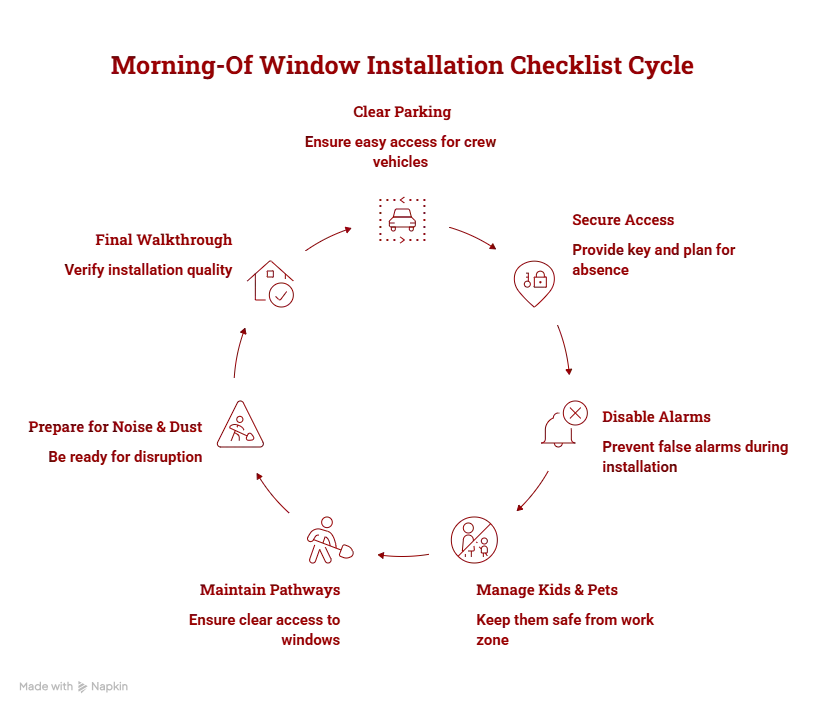
On the morning of install, run through this quick list:
- Clear driveway and street parking near your home for the crew’s vehicles and equipment.
- Unlock gates and secure a spare key with someone on-site if you won’t be home the whole day.
- Turn off alarm systems connected to window sensors so they don’t trigger during removal.
- Have a plan for kids and pets away from the work zone — old glass and tools will be present.
- Keep pathways to each window clear through the day; crews often move between rooms multiple times.
- Expect some noise and dust. Old caulking and trim removal creates debris even with careful crews.
- Do a walkthrough with your installer before they leave — check that every window opens, locks, and seals properly, and that trim work matches what was discussed.
After Your New Windows Are Installed
Once the crew leaves, check the caulking lines are clean, test every lock and crank mechanism, and keep the manufacturer’s warranty paperwork somewhere accessible. If anything feels off — a draft, a sticky sash, uneven trim — contact your installer within the first few days rather than waiting. SmartTech Windows & Doors experts stand behind every install, so don’t hesitate to flag a concern early while it’s easy to fix.
FAQ
How far in advance should I start preparing for a window installation in Winnipeg?
Start two to four weeks out for permit checks, material decisions, and ordering, then handle physical prep like clearing rooms and access paths in the final week before install day.
Do I need to be home during the installation?
Not for the entire day, but someone should be available at the start for a walkthrough and near the end to review finished work, especially if pets or security systems need managing.
What should I do if bad weather is forecast on my install day?
Winnipeg crews plan around temperature and precipitation, and installers typically reschedule extreme cold or storms rather than risk a poor seal. If your date shifts, keep your prep work in place — it’ll carry over to the new date.
Have questions about scheduling your own project or want a crew to walk your home before install day? Reach out to the SmartTech contact team and we’ll help you plan around your home’s specific layout and Winnipeg’s weather.